LATEST UPDATE (August 28, 2015): Updated section on UEFIPatch. The newest ASUS motherboards (with the Z97 and H97 chipsets) now support OS X power management by default, so this guide is usually no longer necessary.
BIOS or UEFI?
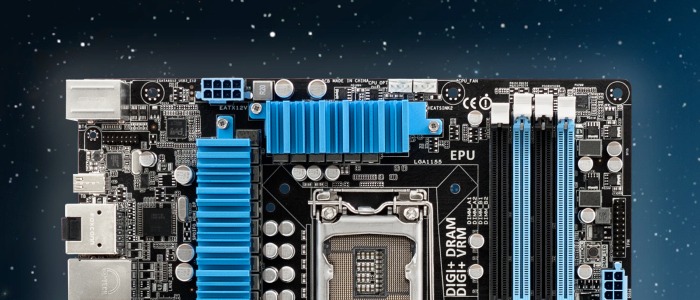
Right now, there are two different types of motherboards on the market: the ones that use BIOS, and the ones that use UEFI. These are interfaces for managing motherboard settings. The procedure for installing Mac OS X depends on whether your motherboard uses BIOS or UEFI. All new ASUS motherboards use UEFI. Right now, this guide only covers the installation process for these new UEFI motherboards.
To check whether your ASUS motherboard uses BIOS or UEFI, press the delete key when your computer boots. You will enter the settings for the motherboard. If the settings screen has few colors and requires you to use the arrow keys on your keyboard to navigate, it's BIOS. If the screen is colorful and allows you to use your mouse cursor to navigate, it's UEFI.
For ASUS motherboards that use UEFI
Unlike old motherboards that use BIOS, motherboards that use UEFI don't need a DSDT file to work with Mac OS X anymore. In fact, if you own a Gigabyte motherboard with UEFI, sleep mode and CPU power management in Mac OS X work by default.
NOTE: For the purposes of the tutorials, I will be referring to the patched UEFI as a "BIOS file" for the remainder of the section. I apologize in advance for any conclusion over the unclear wording.
Step 1: Patch the BIOS
Download an unmodified copy of your motherboard's BIOS from the website of the manufacturer. BIOS files are usually available for download on the specifications pages for individual motherboard models, under the "Support" section.
The BIOS file will usually be either a ".ROM" or ".xx" file, although it depends based on the manufacturer. If you don't know the specific model of your Hackintosh's motherboard, you can use a tool like CPU-Z to find out.
Next, download UEFIPatch (available on both Windows and Mac). Make sure you download the right file-- get UEFIPatch, not UEFIExtract or UEFITool.
DOWNLOAD: UEFIPatch
UEFIPatch will allow you to automatically patch your downloaded BIOS file in a matter of minutes. The tool will come in a ZIP file; double-click the ZIP file to extract the folder from inside.
Next, drag your downloaded BIOS file into your newly-created UEFIPatch folder.
Then, double-click the UEFIPatch file. This will start a Terminal/Command Line program, which will automatically patch the BIOS file. Now you're done!
Step 2: Install the patched BIOS
Get a USB drive and reformat it to use the FAT32 (or just FAT) file system. You can do this through Disk Utility on Mac OS X, which can be found in Applications->Utilities.
Once the USB drive has been reformatted to use the FAT32 file system, copy the patched BIOS file into the base of the USB drive.
Now, you can install the patched BIOS file on your motherboard. Many of the normal ways to install a BIOS file on an ASUS motherboard do not work with patched files. Instead, you have to use "ASUS USB BIOS Flashback", a feature included on most "Z77" ASUS motherboards that use UEFI. This feature allows you to install a BIOS file directly through the motherboard itself.
Simply plug the USB drive into the white USB port in the back of the motherboard, and then press the "BIOS" button next to that USB port. The button will then start to flash. Once the button stops flashing, your motherboard will have the new BIOS installed.
NOTE: Some ASUS motherboards, including "H77" and "B75" models, do not include the USB BIOS Flashback feature. If this is the case, you will have to install the patched BIOS with the FTK tool instead.
Step 3: Install Mac OS X
Install Mac OS X on your computer. For details, check out our website's Mac OS X installation section.
Boot into Mac OS X. Keep your Unibeast boot USB drive plugged in. At the boot screen, you'll see an icon for the hard drive where you installed Mountain Lion. Select it (use the arrow keys on your computer) and press "Enter".
Download Multibeast from tonymacx86. Then, install UserDSDT-- no actual DSDT file required! The patched BIOS takes care of everything.
Conclusion
And that's all there is to it! Your Hackintosh will now be able to boot normally, without the help of your Unibeast boot USB drive. After installing UserDSDT or Easybeast, you still have to enable audio and ethernet separately with Multibeast. Check out our guide to Multibeast for more information.


