


 Every now and then, you might face a situation in which you want to record a video of your computer screen. Whether you're making a tutorial to teach your friends (or parents) how to do fix a bug, or you just want to show off some new trick on your computer, a screen recording tool is something that's always worth having in your applications folder. Luckily for you, Apple actually offers a screen-recording app built into all versions of Quicktime Player since OS X 10.6 (Snow Leopard).
Using Quicktime as a screen recorder is a tried-and-true method that we've personally relied upon multiple times here at MacBreaker. The following mini-guide merely recaps what we've already said in our last article on free screen-recording: rather than paying ridiculous amounts of money for full-fledged recording suites such as Screenflow, Mac OS X's built-in features will often be more than enough to do the job, especially if you're just making a basic demonstrative video. After all, excellent native apps are a big part of the appeal behind the OS X operating system.
1. Open Quicktime
Open up QuickTime Player in your Applications folder. Next, click the "File" button in the top menu bar, and click "New Screen Recording." A "Screen Recording" window will pop up.

If you plan on including sound from your microphone in your recording, you can set it from this Screen Recording window. While this window doesn't offer the vast configurability of a professional recording suite, for most people, it'll suffice.
NOTE: If you wish to record both your microphone audio and your OS X system audio simultaneously, you will have to install a third-party kext called Soundflower. Then, select the "Soundflower (2ch)" option in this window instead of the standard microphone option.


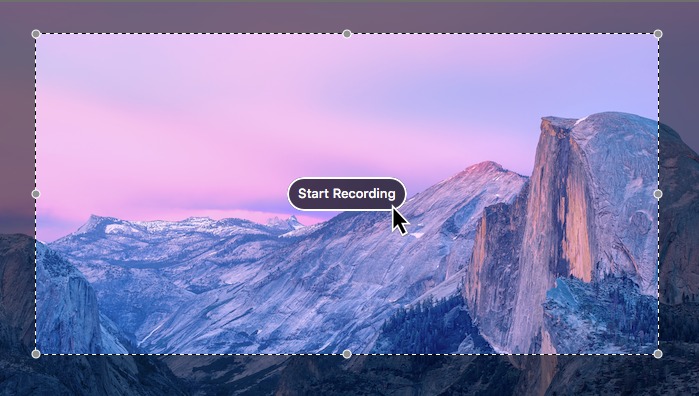
Once you've selected the appropriate options, Quicktime can begin recording-- now's the time to do whatever you were planning to film. The recording will continue until you hit the circular Quicktime button on the top-right corner of Mac OS X's top menu bar.


