


If you're interested in turning your PC into a Hackintosh, but you have no idea where to start, this is the right guide for you. Though installing Mac OS X Snow Leopard on a PC is a rather simple process in theory, it can be a lot more difficult in practice. Tonymacx86's iBoot+Multibeast install guide is a good start, but it's very basic. This guide on installing Snow Leopard attempts to explain every part of the Hackintoshing process, from start to finish (with pictures, courtesy of Virtualbox).
Requirements:
- A compatible computer: Not every computer will work with Mac OS X, even with the help of tools like iBoot and Multibeast. Be sure to read the Hackintosh compatibility guide very carefully, to check whether or not your computer qualifies.
- An empty hard drive: You cannot install Mac OS X on a hard drive that already has Windows installed. You need a hard drive without anything important on it, because you will be erasing the entire hard drive. You can override this requirement by using nawcom's ModCD instead of iBoot, but I can't guarantee it'll work.
- Mac OS X Snow Leopard installation DVD ($20): The method used by this guide requires the retail DVD for Mac OS X Snow Leopard.
- iBoot (Free): iBoot is a boot CD that allows you to boot the retail Snow Leopard DVD. To burn iBoot onto a CD, you need an empty CD and a CD/DVD/Bluray drive that can burn CDs (just about every drive can burn CDs nowadays). If your computer has a CPU that isn't officially supported by Mac OS X, such as an Intel Pentium processor or an AMD processor, then you may have to use iBoot Legacy (which works the exact same way as normal iBoot). You also need to register an account on tonymacx86.com to download iBoot.
If your computer uses a newer Intel Ivy Bridge processor, follow our guide for installing Snow Leopard on Ivy Bridge instead. Ivy Bridge processors have model numbers in the 3000's (e.g. the Intel Core i5-3570). - Mac OS X 10.6.8 Combo Update (Free - 500 MB): Optional; you can update Mac OS X after you finish the initial installation with iBoot. Your Hackintosh probably won't have internet after your initial installation, so you probably want to download this update onto the extra USB drive.
- Multibeast Snow Leopard Edition (Free - 22 MB): Multibeast is a collection of kext files that your Hackintosh will need to run properly, after the initial installation. Download it onto a USB drive, along with the combo update. You need to register an account on tonymacx86.com to download Multibeast. Be sure to download the Snow Leopard edition, not the Lion edition.
1. Settings up the parts of your computer
Open up your computer, and make sure that the SATA cables for your hard drive and your DVD/Bluray drive are plugged into the 3GB/s SATA ports on your motherboard, not the 6GB/s SATA ports (these should be labeled on the motherboard). On Gigabyte motherboards, the 3GB/s ports are blue while the 6 GB/s ports are white. The 6 GB/s SATA ports simply don't work well with OS X.
NOTE: If your computer is more than 2 years old, it probably won't have any 6GB/s SATA ports.
 |
| Source |
- Unplug all USB-connected devices from your computer before you begin the setup (except your keyboard and mouse). A faulty external USB hard drive can cause your Hackintosh bootloader to give you EBIOS errors on startup.
- Open up your computer and unplug any extra internal hard drives that your computer has, besides the hard drive that you're installing OS X on. (Just unplug the hard drive SATA cables from your motherboard.)
- If possible, connect your monitor to the DVI port of your computer's graphics. The Mac OS X installer sometimes has problems with HDMI and VGA.
2. Setting up your motherboard's BIOS
The BIOS is basically a settings page for your motherboard. To enter the BIOS on my own computer's Gigabyte P67A-D3-B3 motherboard, I have to press the delete key when it boots (before the operating system starts). Different manufacturers set different keys for opening the BIOS.

Boot Device - Change the boot device of your computer so that "CDROM" is first. You need to do this for iBoot to work. After you finish installing Mac OS X, you should change this setting back to default, so that "Hard Disk" is the first boot device (this optional, but it will speed up your boot times).


You will need to burn iBoot onto a CD. On Windows 7 and Mac OS X, burning capabilities are built-in to the operating system-- just insert an empty CD into your DVD/Bluray drive, right-click on the iBoot file, and burn it. If you're using Windows XP or Vista, you will need to use a program such as ImgBurn.
It's time to begin. Turn off your soon-to-be Hackintosh. Insert iBoot into the DVD/Bluray drive, and boot the computer. You should come up to a screen with the tonymacx86 apple on top. Don't do anything yet.

Take out the iBoot CD from your DVD/Bluray drive (the iBoot menu will remain on the screen), and put in your OS X installation disk. Then press "F5" to refresh the iBoot menu, so that it can detect the new installation disk. Once iBoot detects the disk, press the enter/return key on your keyboard to start up the OS X installation. (This could take a while.)

In the worst case scenarios, instead of loading the Mac OS X installer, you may end up at a dark gray screen that tells you to restart your computer (a kernel panic), or you may end up with a small crossed-out sign (a loading error). If you get a kernel panic/loading error (or if the Mac OS X installer simply won't start within 30 minutes), you'll need to enter some boot flags.
To enter boot flags, first put iBoot back into your Bluray/DVD drive and manually restart your computer by pressing your computer's power button. Then, once you're reinserted the Snow Leopard install DVD and pressed F5 to refresh the iBoot menu, try typing any necessary boot flags before pressing the enter/return key. Check out this list of common boot flags for reference (PCIRootUID=1 -v -x is one popular combination of boot flags).
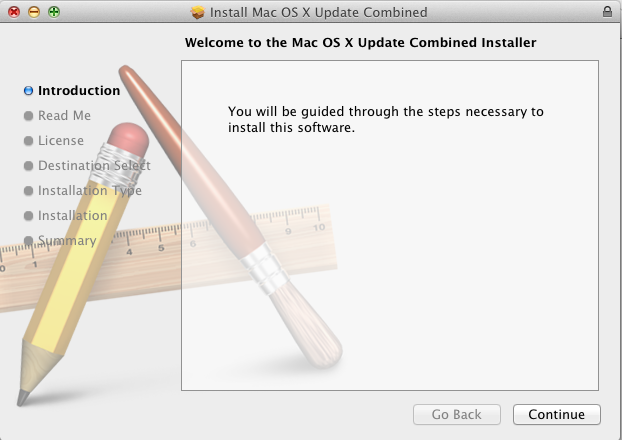
4. Installing OSX
Normally, the installation screen will be loaded within a few minutes (5-10 minutes for me). You will eventually come up to a page that asks you for a "destination" for your Mac install. Oh no, the page is blank! We'll have to fix that. To do this, start up Disk Utility (located under the Utilities menu in the top bar).


5. Post-Installation: Updating and Multibeast
The retail DVDs for Mac OS X install either OS X 10.6.0 or 10.6.3. Upgrading to 10.6.6 will get you the Mac App Store, which is necessary to download Mac OS X Lion. If you want to download OS X Mountain Lion, you will need to upgrade to 10.6.8.
It's worth mentioning here that updating to 10.6.8 can be a major pain. Hackintoshes that have the newest generation of Intel processors (Sandy Bridge) get a kernel panic when they try to upgrade. If you wish to update to 10.6.8, be sure to use tonymacx86's UpdateHelper tool. If you only want to download Lion from the Mac App Store, simply update to OS X 10.6.6 or 10.6.7, which are completely pain-free in comparison.
Pretend that you want to update to 10.6.7. You probably won't have internet on your Hackintosh yet, so just use another computer to download it from here (or just Google "10.6.7 Combo Update"). After you've finished downloading the 10.6.7 combo update from Apple (it'll take a while), copy it onto a USB drive. Also, download Multibeast and copy it onto the USB drive. Then plug the drive into your Hackintosh. Run the 10.6.7 update. When it finishes installing, DON'T REBOOT.

And that's all there is to it. If your PC is built of nothing but Hackintosh-compatible parts (known as "vanilla"), this entire process might only take around 2 hours. Of course, for most of us, this process will take much longer. Good luck Hackintoshing!