


UPDATE (December 6, 2015): This issue no longer occurs when your Hackintosh uses Clover Bootloader (now the default in the Unibeast method of installing OS X).
Overview
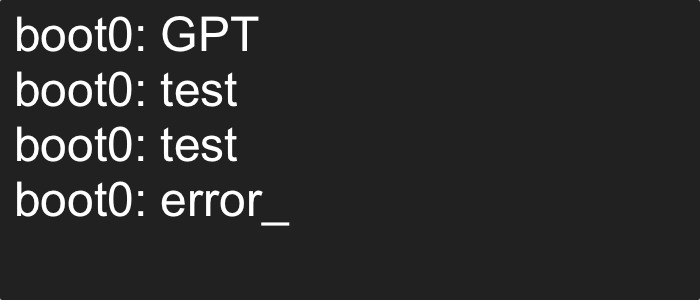
Sometimes, a boot0 error just means that your Hackintosh's bootloader wasn't installed properly. In which case, boot into your Hackintosh with iBoot or Unibeast, and re-run UserDSDT/Easybeast with Multibeast again.
However, a boot0 error might also happen when your Hackintosh's hard drive reads and writes files in 4096 byte sectors. Most hard drives read and write files in 512 byte sectors, and Chimera bootloader (the bootloader installed by UserDSDT and Easybeast) can't be installed normally on a hard disk with 4096 byte sectors. To fix this problem, you have to unmount (turn off) the hard disk that Mac OS X is installed on, and then manually reinstall Chimera on that unmounted disk.
NOTE: Though this guide fixes the boot0 error for Chimera bootloader, it will also work for Chameleon bootloader, which is essentially the same thing.
What you need
You can't fix this problem straight from your normal installation of Mac OS X, because it requires you to unmount your main hard disk, and it's impossible for OS X to unmount itself. Instead, here's what you'll need:
- Anything with the Mac OS X Installer: To unmount the hard disk, you need to boot into something that will give you access to a different copy of Mac OS X, such as the Mac OS X Installer. This could be a Unibeast USB drive, Kakewalk USB drive, myHack USB drive, Snow Leopard installation DVD, xMove partition, or even a cloned copy of your hard disk.
- Standalone installer for Chimera bootloader: In this guide, you'll be writing "boot1h", which is located inside the Chimera installer, onto your hard disk. This is the manual way to install Chimera. Registration on tonymacx86.com is required to download Chimera.
- A separate USB drive: You'll need an extra USB drive to store the boot1h file on.
- unpkg: This app extracts the contents of .pkg installer files. You'll need to use it to access the boot1h file inside Chimera.
Make sure that you've already installed Chimera bootloader on your Hackintosh (Chimera is included with UserDSDT and Easybeast). Obviously, it won't work properly yet, but we'll be fixing it. For now, you can boot into your Hackintosh with iBoot, your Unibeast USB drive, etc.
Procedure
Start unpkg, and drag the Chimera file that you downloaded onto the unpkg window. Unpkg will create a folder named "Chimera" on your desktop.


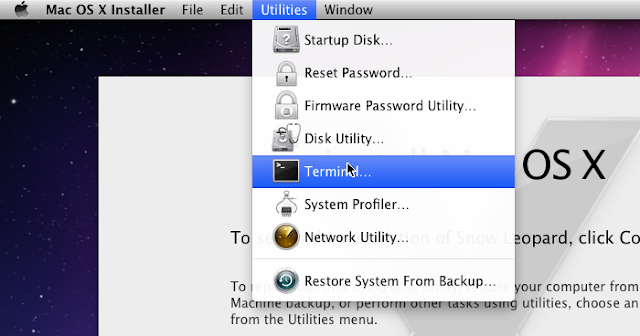
Once the Mac OS X Installer starts, open Disk Utility by opening the "Utilities" menu in the menu bar.


In terminal, type:
diskutil list
This will output a list of all of your hard disks. Find the name of the hard disk that Mac OS X is installed on (the one you just unmounted), and remember the hard disk's identifier. You'll probably want to write this down so that you can remember it later.

cd /Volumes/"USB Drive"
Don't forget to include the space between cd and /Volumes/"USB Drive".
Replace "USB Drive" with the name of your USB drive (include the quotation marks), which you should have remembered before. This command changes the folder that Terminal is working on (cd stands for "change directory). Now, everything you type in Terminal will apply to the files in your USB drive, including the boot1h file.
Once you've made Terminal focus on your USB drive, type:
dd if=boot1h of=/dev/identifier
Replace "identifier" (don't include the quotation marks) with the identifier for your hard disk that you unmounted. This command reads the boot1h file, and then writes it to your hard disk.
Reboot, and the Chimera bootscreen will be able to load!